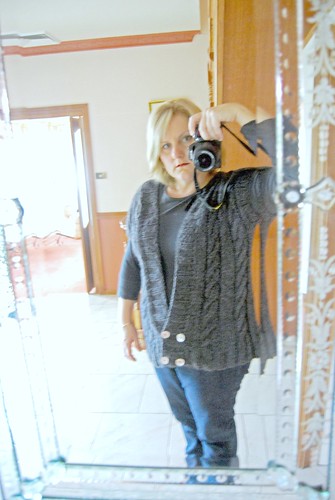
Hi, this is me.
I used to blog
over there.
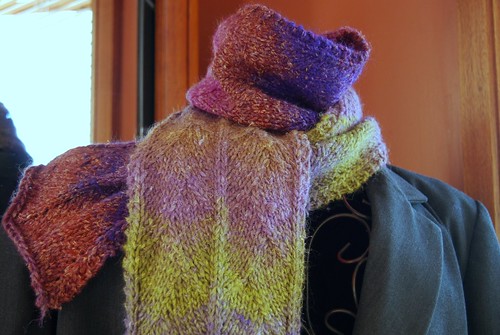
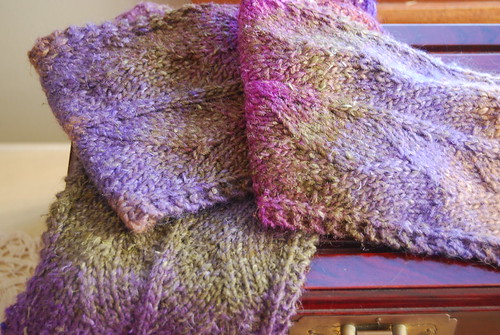
While I work out where this blog thing is going, please enjoy a complimentary pattern from the cafeteria. Our menu is new and we're just learning, so bear with us while we get the hang of it.
____________________________________________________________________
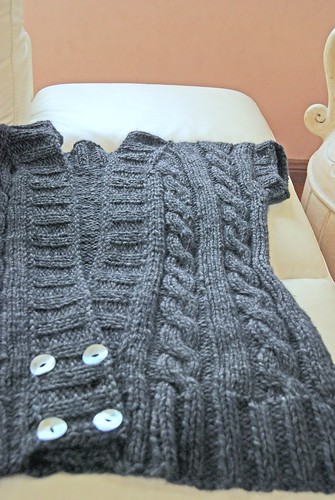
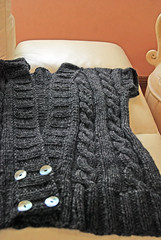
CHUNKY LONG CABLED VEST

This easy vest can be whipped up in no time, and looks great with a long sleeve tee, jeans and boots.
The cables provide self-shaping, and the shawl collar is picked up and knitted around in one piece, so it is super easy to make.
NOTE: Instructions given for a large and a small size only. If you want to upsize or downsize the pattern, reduce or increase the number of stitches between the cables, and adjust the number of back stitches to match.
SUPPLIES:yarn: I used about 400-450g of
Patons Inca for the LARGE SIZE any yarn giving correct gauge will obviously work as well
estimate
Gauge: 18 st x 24 rows over 10cm using 6mm needles
Needles: 6 mm circular needle
6 mm dpn's if needed for arm bands (I used the same cirular with the
magic loop method, but it is immaterial how you do it)
Notions: tapestry needle
4 or six decorative buttons
six large snap fasteners
GLOSSARY:SIZES: Large (
Small)
This is an oversize garment, intended to have a lot of ease.
CABLE PATTERN:Row 1: (RS) k4(
3), p2, k6, p2, k4(
2), p2, k6, p2, k4(
3)
Row 2: p4(
3), k2, p6, k2, p4(
2), k2, p6, k2, p4(
3)
Row 3: same as row 1
Row 4: same as row 2
Row 5: k4(
3), p2, [slip next 3 stitches onto cable needle and hold in front, k3, k3 from from the cable needle], p2, k4(
2), p2, [6 st Cable as before], p2, k4(
3)
Row 6: same as row 2
Row 7: same as row 1
Row 8: same as row 2
Repeat Rows 1-8 for cable pattern.
FRONTS (MAKE TWO IDENTICAL)
Cast on 32(
28) stitches
Row 1 (RS): *(k2, p2), repeat from * to end
Row 2: *(p2, p2), repeat from * to end
Repeat rows 1 and 2 five times more (for a total of 12 rows 2x2 rib)
Begin Cable Pattern
Row 13 (RS): Row 1 cable pattern
Row 14: Row2 cable pattern
Continue with cable pattern until 10 repeats have been worked then begin neck shaping:
NECK SHAPING:Continuing in cable pattern as established, decreasing each neck end by one stitch on
EVERY right side row 8(
7) times, and then EOR 6 times, until 18(
15) sts remain, cast off on WS row.
BACK

Cast on 66(
58) stitches
Row 1: K2, *(p2, k2) repeat from * to end
Row 2: p2, *(k2, p2) repeat from * to end
Continue with rows 1 and 2 as established five times more (twelve rows of 2x2 rib worked)
Change to stocking stitch, and work evenly until peice is about 2 inches shorter than the fronts, ending on a WS row. Begin back neck shaping.
BACK NECK SHAPING:RS: Knit across 18(
15) stitches, join a new ball of yarn, cast off of centre 40(38) stitches, knit across final 18 stitches.
Continue working in stocking stitch on the left neck side, until length matches the front, cast off 18 stitches.
Complete the right hand neck side in the same manner.
ARMBANDS
Seam pieces together at sides, leaving a gap at the top for the armholes. The size of the armhole will vary among indivicuals, I think a snug armband looks more pleasing, but you may prefer a wider armhole. Bear in mind that a wider armhole will give the garment a 'boxy' look when worn, which might be the desired effect.
Using a suitably sized circular needle (or dpn's), pick up and knit the edge stitches around the armhole, making sure that the number is a multiple of 4, for both sizes. Work about 6 rows of 2.2 rib, and cast off loosely.
Repeat for other armhole, being careful to make them identical.
SHAWL COLLAR
Using a circular needle, with right side of work facing and starting with the
right front of the garment, pick up and knit up the
right side, up the
front rhs neck shaping,
down the back rhs neck shaping, across the back,
up the back lhs neck shaping, down the
front lhs neck shaping and
down the left front of the garment.
Begin shawl collar rib
Row 1: k2, *(p2,k2) to end
Row 2: p2, *(k2,p2) to end
Repeat Rows 1 and 2 for a total of twelve rows.
Cast off loosely.
BUTTONS

Sew buttons to the front of the garment in four or six even places.
Sew six snap fasteners into the insides of the bottom of the front bands, as shown.
NOTES ON PICKING UP FOR SHAWL COLLARI find that prescribing the exact number of stitches to be problematic (eg: if you seam the shoulders in a different place or graft them instead of seaming, you'll have a slightly different number of stitches than me) ,
but it must be a multiple of 4 plus 2 (for both sizes). This is because you want the rib to match at the sides from the bottom of your vest.
If you maintain a consistent approach and match up the number of stitches you've used for each section (I've colour coded the number of stitches that should match above), you should be right.
(MATHEMATICAL HINT)Stop after the first side, work out the number of stitches you've used, double it for what you're going to use down the second side and add the 40(
38) stitches for the back. If that is a multiple of 4 plus 2 then yay! keep going. If it isn't, use the back section to make up the numbers. Because you should be always working with an even number of stitches (even if you're right side result is an odd number, remember you've doubled it, and the back is an even number for both sizes), so it should only be 2 stitches you need to gain across the back in any event.
Block or press as desired. I hope you like it.
